k8s.github.io
Namespaces
- Take me to Video Tutorial
In this section, we will take a look at Namespaces
So far in this course we have created Objects such as PODs, Deployments and Services in our cluster. Whatever we have been doing we have been doing in a NAMESPACE.
-
This namespace is the
defaultnamespace in kubernetes. It is automatically created when kubernetes is setup initially.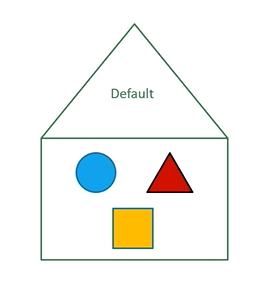
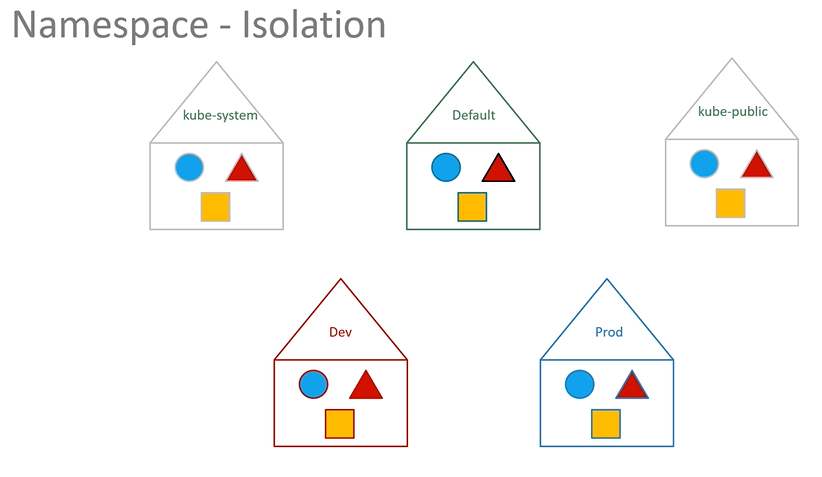
-
You can create your own namespaces as well.
- To list the pods in default namespace
$ kubectl get pods - To list the pods in another namespace. Use
kubectl get podscommand along with the--namespaceflag or argument.$ kubectl get pods --namespace=kube-system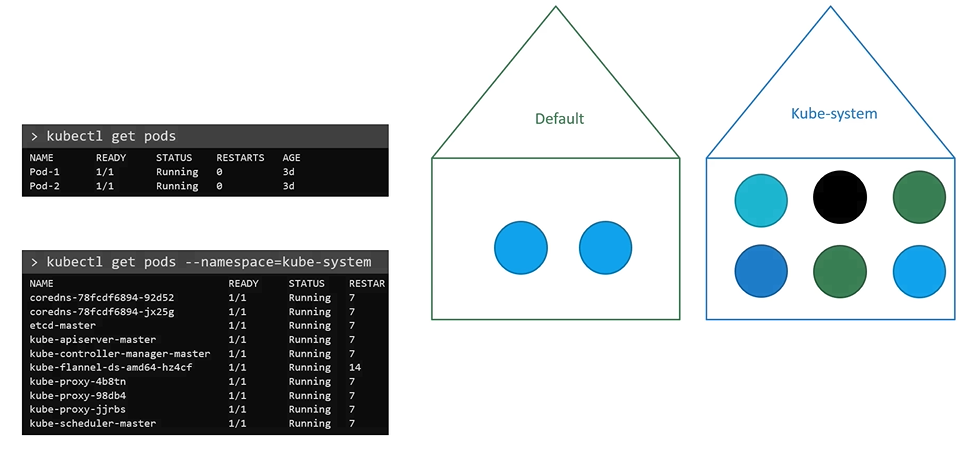
- Here we have a pod definition file, when we create a pod with pod-definition file, the pod is created in the default namespace.
apiVersion: v1
kind: Pod
metadata:
  name: myapp-pod
  labels:
     app: myapp
     type: front-end
spec:
  containers:
  - name: nginx-container
    image: nginx
$ kubectl create -f pod-definition.yaml
- To create the pod with the pod-definition file in another namespace, use the
--namespaceoption.$ kubectl create -f pod-definition.yaml --namespace=dev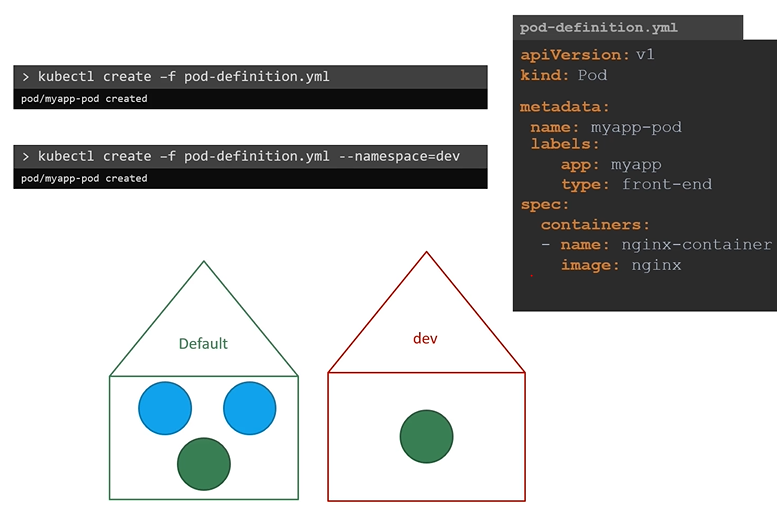
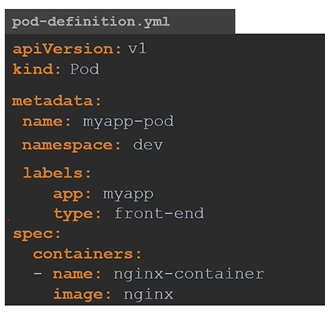
- If you want to make sure that this pod gets you created in the
devenv all the time, even if you don’t specify in the command line, you can move the--namespacedefinition into the pod-definition file. ``` apiVersion: v1 kind: Pod metadata: name: myapp-pod namespace: dev labels: app: myapp type: front-end spec: containers:- name: nginx-container image: nginx ```
- To create a new namespace, create a namespace definition as shown below and then run
kubectl createapiVersion: v1 kind: Namespace metadata: name: dev$ kubectl create -f namespace-dev.yamlAnother way to create a namespace
$ kubectl create namespace dev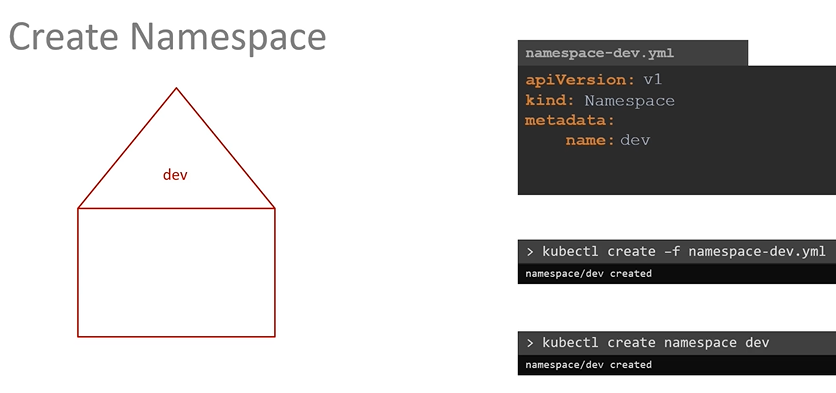
- By default, we will be in a
defaultnamespace. To switch to a particular namespace permenently run the below command.$ kubectl config set-context $(kubectl config current-context) --namespace=dev - To view pods in all namespaces
$ kubectl get pods --all-namespaces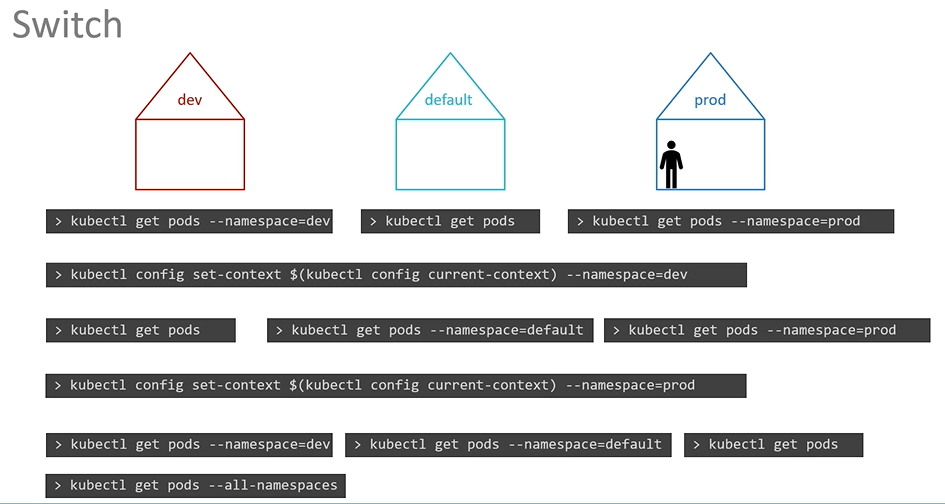
- To limit resources in a namespace, create a resource quota. To create one start with
ResourceQuotadefinition file.apiVersion: v1 kind: ResourceQuota metadata: name: compute-quota namespace: dev spec: hard: pods: "10" requests.cpu: "4" requests.memory: 5Gi limits.cpu: "10" limits.memory: 10Gi$ kubectl create -f compute-quota.yaml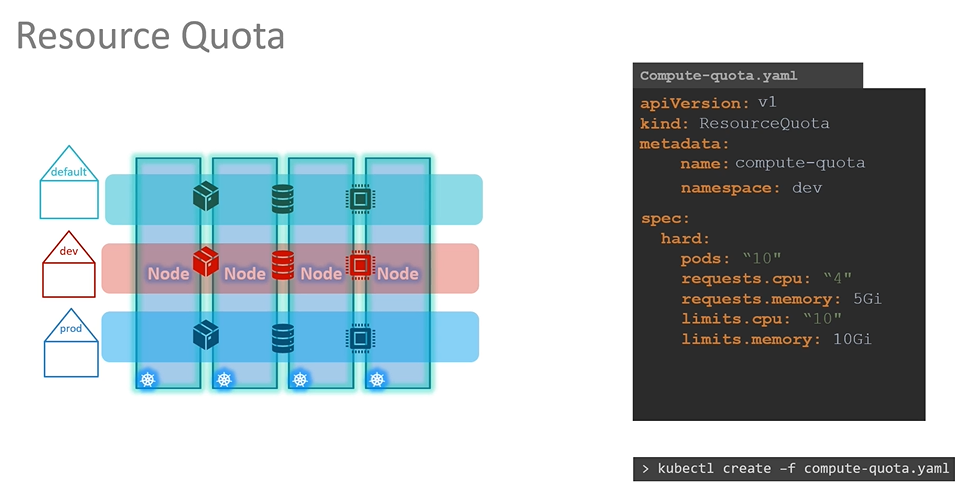
K8s Reference Docs:
- https://kubernetes.io/docs/concepts/overview/working-with-objects/namespaces/
- https://kubernetes.io/docs/tasks/administer-cluster/namespaces-walkthrough/
- https://kubernetes.io/docs/tasks/administer-cluster/namespaces/
- https://kubernetes.io/docs/tasks/administer-cluster/manage-resources/quota-memory-cpu-namespace/
- https://kubernetes.io/docs/tasks/access-application-cluster/list-all-running-container-images/