k8s.github.io
Connect to Cluster
We will connect to the cluster using the Azure CloudShell.
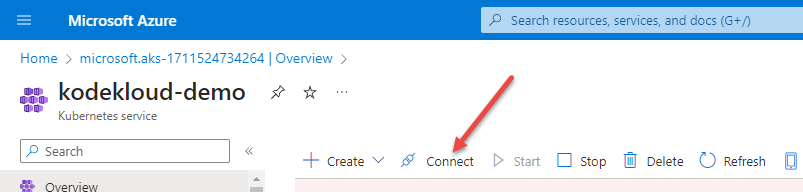
When you click on Connect, it will pop up a window to the right. Click on the Open Cloud Shell link, then select bash as the shell. You will now be asked to create a storage account.
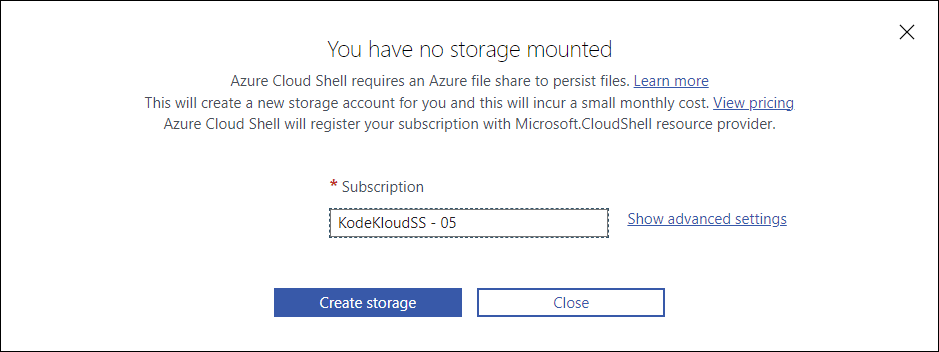
Click on the link Show advanced settings to get to here:
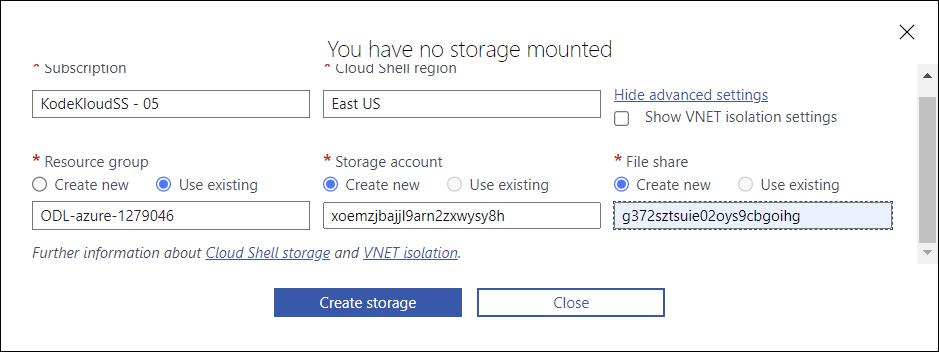
Fill in this form as follows
| Field | Value |
|---|---|
| Subscription | Leave as default |
| Cloud SHell Region | East US |
| Resource Group | Use Existing radio button |
| Storage Account | Create new radio button, then create a unique name for it and put in text box |
| File Share | Create new radio button, then create a unique name for it and put in text box |
Unique names should be 24 characters long consisting of number and lower case letters only You can use this online tool to create your unique names.
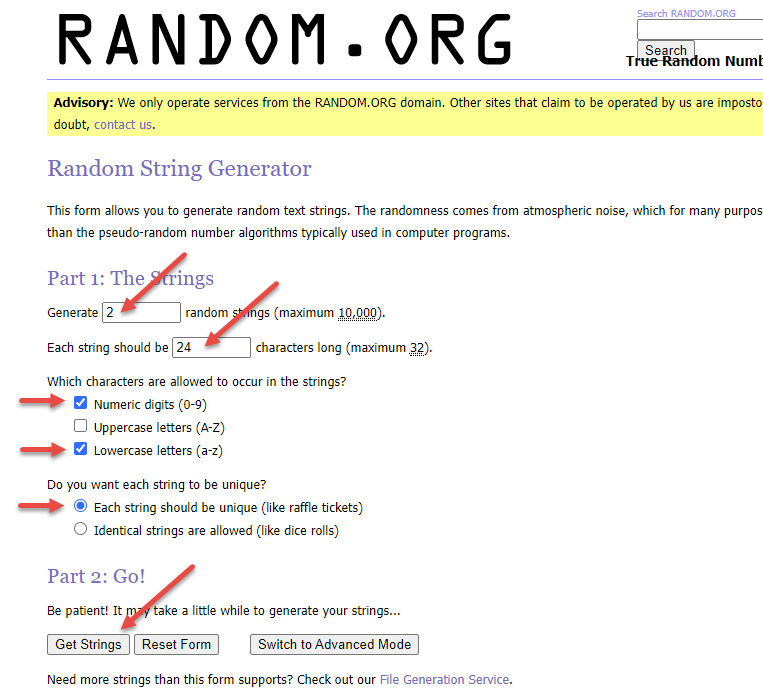
Copy your random strings into the form and press Create Storage
The cloud shell window will open at the bottom of your browser window and will automatically run the two commands that were listed in the pop-up.
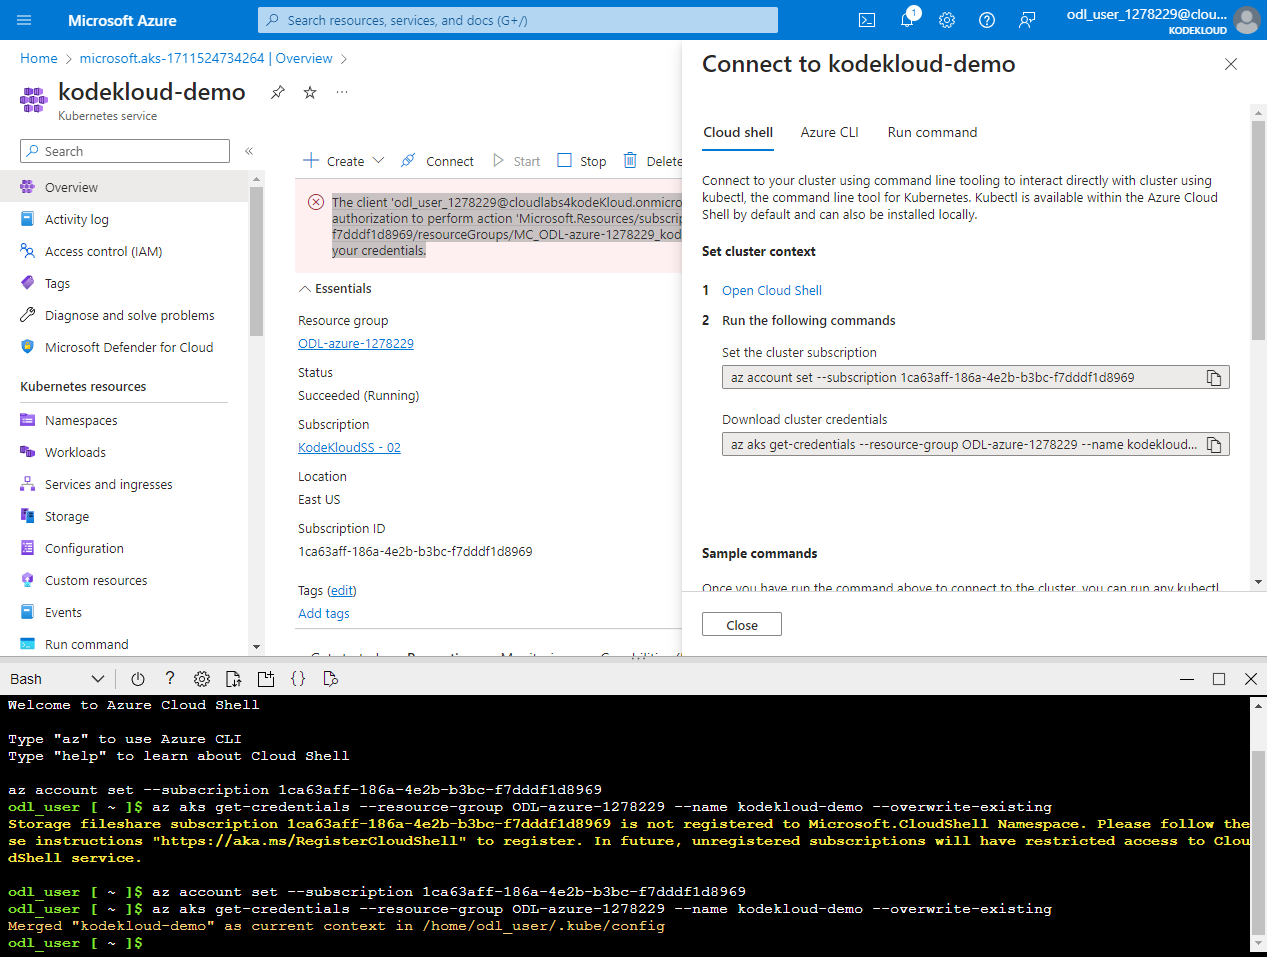
Now you can run commands against the cluster, and you’re done!
odl_user [ ~ ]$ kubectl get nodes
NAME                                STATUS   ROLES   AGE   VERSION
aks-agentpool-33115789-vmss000000   Ready    agent   27m   v1.28.5
aks-agentpool-33115789-vmss000001   Ready    agent   26m   v1.28.5
odl_user [ ~ ]$ kubectl run nginx --image=nginx
pod/nginx created
odl_user [ ~ ]$ kubectl get pods
NAME    READY   STATUS    RESTARTS   AGE
nginx   1/1     Running   0          8s
odl_user [ ~ ]$